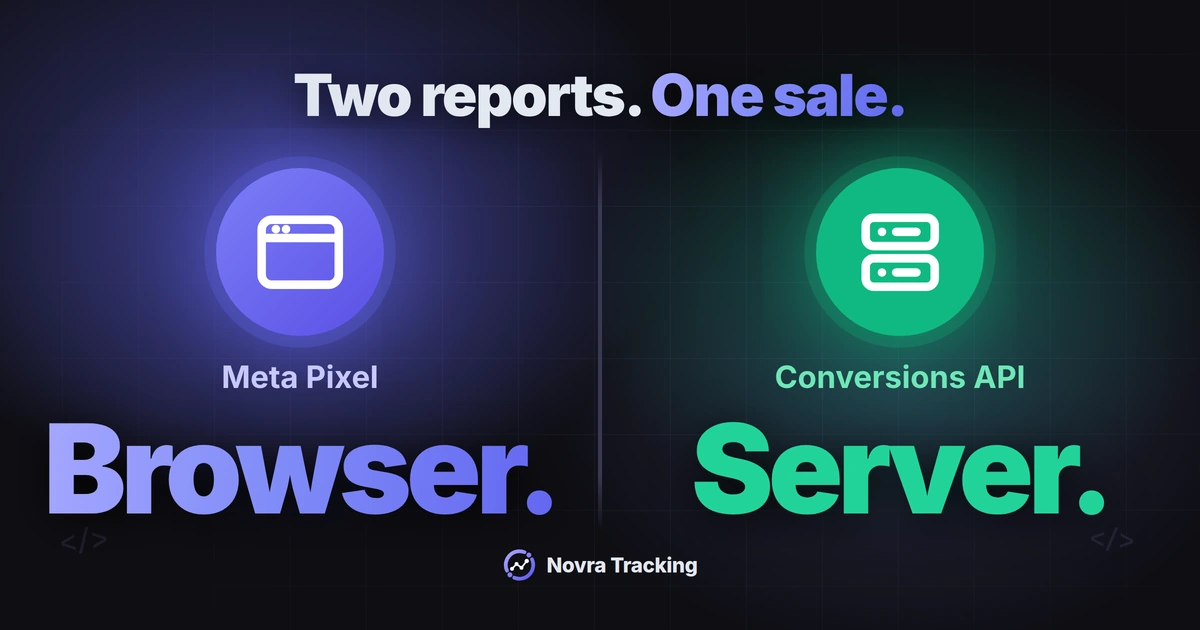
WooCommerce Facebook Pixel setup connects your shop’s browser events to Meta. Add the Conversions API when you also need your website to report supported purchases directly. With Novra Tracking, use the same Meta destination for both paths, respect marketing consent, and verify how matching purchases are combined.
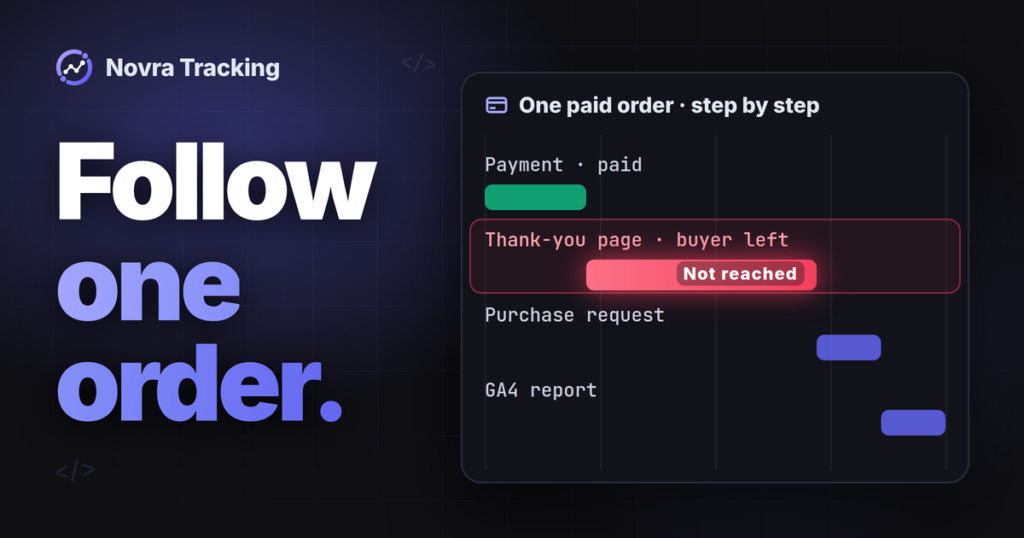
Novra Tracking for WooCommerce and Meta brings these connections into WordPress. Its browser Pixel covers shopping actions; its documented server-purchase option adds a direct report of an eligible paid order. That can reduce reliance on a buyer returning to your thank-you page.
Choose your Meta integration first
If you are looking for the official extension, visit Meta for WooCommerce by Facebook. It is a different product, with catalog and other Meta connections. The instructions below use Novra Tracking, a separate plugin from Novra Code.
Already using the official extension? Its archived WooCommerce documentation describes an integrated Pixel and Conversions API. Woo now marks that documentation as no longer updated. Check your installed integration and current provider guidance before changing it.
List the plugins, theme snippets and Google Tag Manager tags already sending to Meta. Tag Manager is a tool for managing tracking scripts. Assign one integration to each event and destination. One plugin can intentionally manage browser and server delivery; two unrelated purchase senders are a different setup.
Do not add Novra’s Meta sender alongside an existing one without planning the handover. If another extension also manages your catalog, preserve that responsibility. Novra’s tracking connection is not a replacement plan for your catalog or WhatsApp setup.
Understand the two purchase paths
An event records an action, such as adding an item to a cart. The Meta Pixel, often called the Facebook Pixel, is a script running in the visitor’s browser. The Conversions API, or CAPI, lets your server send events to Meta directly.
| WooCommerce action | Browser event | Server-purchase setup in this guide |
|---|---|---|
| View a product | ViewContent |
Not proof that the server purchase connection works. |
| Add an item to the cart | AddToCart |
Check the product and quantity in the browser event. |
| Start checkout | InitiateCheckout |
A checkout event is not proof of payment. |
| Complete an eligible paid order | Purchase |
An additional Purchase from the server when configured and permitted. |
This guide configures server purchases. Do not assume that enabling this option also copies every browser event. Check the documentation for your installed version before adding other server event types.
Novra documents the server purchase as a background job shortly after payment, not an immediate browser request. It follows the recorded marketing consent and order eligibility. A blocked browser can still leave a server purchase, but no integration can guarantee complete capture or ad attribution.
Prepare your destination and access
- WordPress access: you need permission to install and configure the plugin. Novra documents WordPress 6.4+, PHP 8.0+ and WooCommerce 8.0+ for this setup.
- Your Meta business: use assets your business controls and a user with access to the intended web data source. Novra does not create your Meta account or campaigns.
- The correct Pixel: record the business name, selected data source and Pixel ID together. Do not substitute an ad account, Facebook Page or catalog ID.
- Consent ownership: identify your cookie banner and who maintains its marketing permission. Novra reads supported banners; it does not replace one.
- A test environment: prepare an isolated test store and a separate Meta test data source, kept out of production campaign use.
In Events Manager, select the shop’s web data source. Novra’s setup guidance describes this as your dataset, the container for incoming event data. Confirm the associated Pixel ID. If you already have the correct Pixel, reuse it for the production connection instead of creating another just for a new plugin.
Meta’s Conversions API prerequisites and access-token guide require the same Pixel ID for corresponding browser and server events. If the business has no suitable source, have its owner establish one before connecting Novra.
Connect the browser Pixel in Novra
Start in the test environment. Novra documents support for WooCommerce’s classic and block checkouts. Your specific gateway, theme and checkout extensions still need checking.
- Install Novra Tracking if needed. Download the plugin ZIP. In WordPress, open Plugins → Add New Plugin → Upload Plugin, select it, then install and activate it.
- Open the Meta connection. Go to Novra Tracking → Settings. Find Meta in the Platforms group’s Social section, enable the Pixel and enter the selected Pixel ID. Save your settings.
- Review the shop actions. Open Shop & Events under Store. Confirm which WooCommerce actions you intend to track.
- Check marketing consent. Open Consent under Privacy and confirm the detected banner. Check the actual visitor choice, not just the banner’s presence.
- Review readiness. Open Novra Tracking → Dashboard and resolve missing configuration. A ready status is a setup check, not proof of a received purchase.
The Novra platform-connection documentation explains the settings structure. You do not need Google Tag Manager for this setup. A license enables updates; the documented tracking features do not depend on license activation.
Keep Meta behind marketing consent
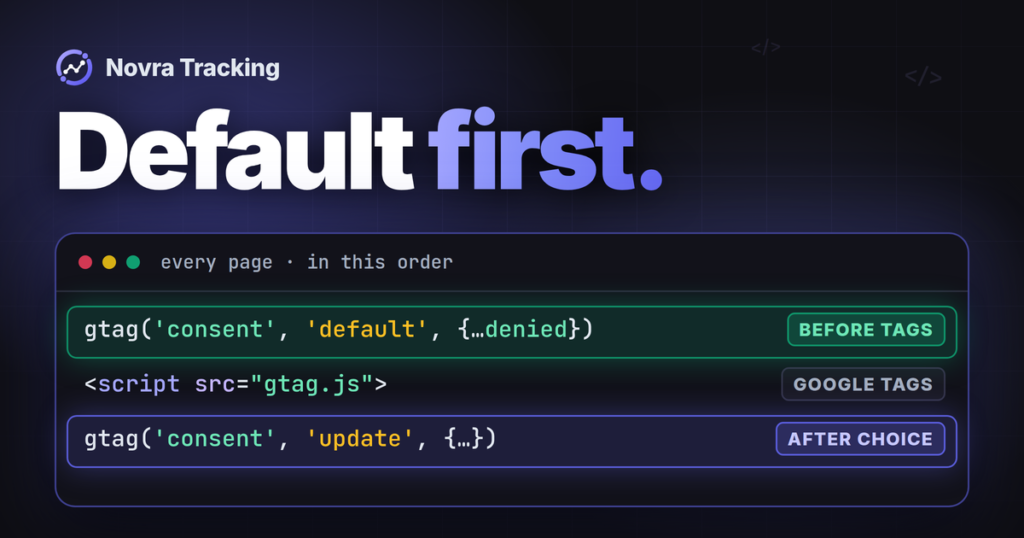
In Novra’s Basic mode, tags wait for the required consent. Meta also waits for marketing consent in Advanced mode. Google’s different consent behavior does not give Meta a consent-free route.
Server purchases follow the recorded marketing choice too. Do not disable consent handling to make a test succeed. Check a refused choice as well as an accepted one. The plugin does not certify that your setup meets every applicable privacy requirement.
Add WooCommerce Meta Conversions API purchases
The Pixel ID connects the browser path. The server-purchase path also needs an access token, a private credential that authorizes delivery to Meta. It is not your WordPress password or Novra license key.
- In Events Manager, select the same web data source used for the Pixel connection.
- Open Settings and find Conversions API. Meta documents Generate access token under Set up manually. Follow that flow for the selected source.
- If the token link is absent, ask the business owner to check your access. Meta’s guide says the link requires developer privileges for the business.
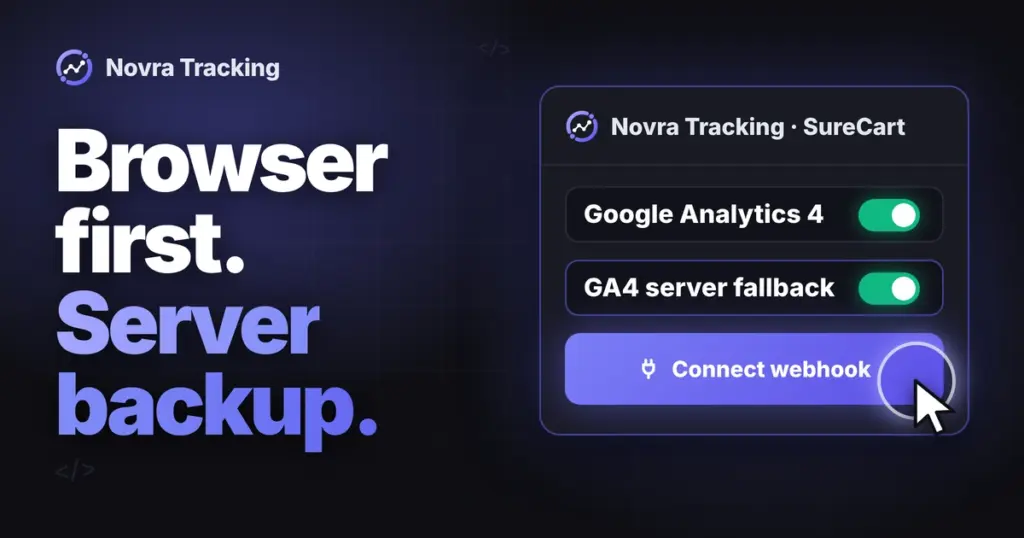
- Return to Novra Tracking’s Meta section. Enter the token in its Conversions API access-token field and enable Send purchases from the server. Save.
- Keep the token private. Do not put it in page code, a URL, screenshots or public support messages.
Novra documents encrypted token storage and omits tokens from its settings export and system report. Review the destination after configuring it; a saved credential does not prove that Meta accepted an event.
Match the purchase value and data
Check the Meta Purchase value option available in your installed version. Novra’s source documentation distinguishes order total, products after discounts without tax and shipping, and profit margin. Profit margin needs cost-of-goods data; without it, the documented calculation falls back to the products value. The chosen definition must agree between browser and server. Do not compare two different revenue measures.
For a purchase, inspect value, currency and product identifiers. Meta’s standard parameter reference describes these fields. Currency uses a three-letter code such as USD. If you use a catalog, check that the reported product IDs correspond to its items.
Advanced matching adds customer identifiers to help Meta associate events with people. Novra documents hashing selected details before sending them. Hashing turns them into matching codes; it does not make the data anonymous. Meta’s customer-information rules distinguish fields that require hashing from fields that must not be hashed.
Enable only the data collection your setup needs and permits. Keep customer details, tokens and sensitive information out of event URLs and shared diagnostic examples. Do not collect extra details merely to improve a diagnostic score.
Check that one order stays one purchase
Deduplication means recognizing two reports of the same action. Meta’s recommended browser/server deduplication method compares the event name and event ID. The corresponding events must reach the same Pixel ID within its documented 48-hour window.
- The browser event is
Purchase; the server’sevent_namemust also bePurchase. - The browser’s
eventIDmust match the server’sevent_idexactly. - That identifier must distinguish this purchase from other purchases. A shared Pixel name or matching value is not enough.
Novra’s documented purchase ID uses order_ followed by the internal order ID, not a customized display order number. Illustration only: internal order ID 481 gives order_481 in both copies. Check your installed version’s actual events; never paste this illustration as a fixed ID.
Novra documents a 47-hour paid-order guard. Its source also checks the age of an existing browser purchase before sending the server copy. These are Novra’s protective rules, not a claim that Meta’s API accepts events for only 47 hours. A late-paid bank transfer can therefore miss this server route.
Do not confuse that pairing with preventing a shop from emitting repeated purchases. Reload protection and Meta’s browser/server matching solve different problems. A second plugin or another shop may use different or colliding IDs. An order number alone does not coordinate those senders.
Verify the connection in separate stages
The following checks are for your implementation. Use the isolated test store, separate Meta data source and payment provider’s test mode. Keep that source out of live campaigns. If those controls are unavailable, postpone purchase testing until you can use a separate test source and store.
A test event code is not a reporting-isolation guarantee. Meta’s current Test Events guidance says coded events are not dropped and can be used for targeting and measurement. A private window or test payment does not change the destination.
Inspect browser and server events
- Use a customer-like browser session. Novra excludes administrators and shop managers from ordinary tracking by default. Grant or refuse marketing consent according to the check you are performing.
- Inspect the browser events. Open a product, add it to the cart and start checkout. Meta’s current Meta Ads Data Advisor, formerly Pixel Helper, provides Pixel and event diagnostics. Use its diagnostic view; do not start another automated installation.
- Open the correct Test Events view. In Events Manager, select Data Sources → your Pixel → Test Events. For server testing, enter that source’s test event code in Novra’s Meta section.
- Check the server connection separately. Novra documents Debug mode under Settings → Advanced → Testing and logs, then Test purchase under Settings → Tools. That synthetic request does not create a WooCommerce order or exercise your full checkout.
- Check an actual test checkout separately. In the isolated store, follow an eligible order through payment and inspect its browser and server purchase details. Allow for the documented background delivery. The synthetic tool alone cannot prove this path.
During the checkout check, inspect the source, event name, identifiers, value and currency. For the server event, also check its event time and website source. Meta’s verification guide separates received events from deduplication and matching. In Overview, inspect Connection Method and Purchase Event Details, including Event Deduplication where available.
| Check | Evidence to keep | Not enough |
|---|---|---|
| Correct destination | The selected source and Pixel ID match your setup record. | An event visible in a different source. |
| Consent behavior | Meta waits for marketing consent in the configured mode; refusal is respected. | The banner is merely detected. |
| Browser shopping actions | Expected events identify the action and relevant products. | A green Pixel badge or PageView alone. |
| Server purchase | The eligible paid test order has a corresponding received server Purchase. | A saved token or successful synthetic request alone. |
| Purchase pairing | Matching names and IDs reach the same source; inspect Meta’s deduplication detail. | Assuming two received events must mean two counted sales. |
| Value and currency | Both paths agree with the chosen purchase-value definition and order currency. | Comparing only total event counts. |
Receipt, deduplication and attribution are separate outcomes. An API acceptance response does not prove correct reporting. Meta’s received-event view can show events before deduplication, consent controls or processing. Attribution means assigning credit to an ad; a test purchase does not prove that result.
Finish by removing the test event code and turning off Debug mode when testing ends. Keep a record of the source, sender, consent checks and tested checkout paths, without secrets or customer details. Review the production destination before any later rollout.
Decide whether the setup fits your shop
Novra Tracking fits a WooCommerce shop that wants supported Meta browser events and server purchases managed from WordPress. You still need the right Meta access, a clear consent setup and destination-side checks.
Its dashboard helps identify delivery gaps by payment method. It does not turn every shop order into an ad-attributed sale. The Novra Tracking numbers and accuracy FAQ explains why those totals can differ.
If that approach matches your shop, review Novra Tracking’s features and plans. Choose the connection you need, verify it in stages, and keep one clear owner for each event.